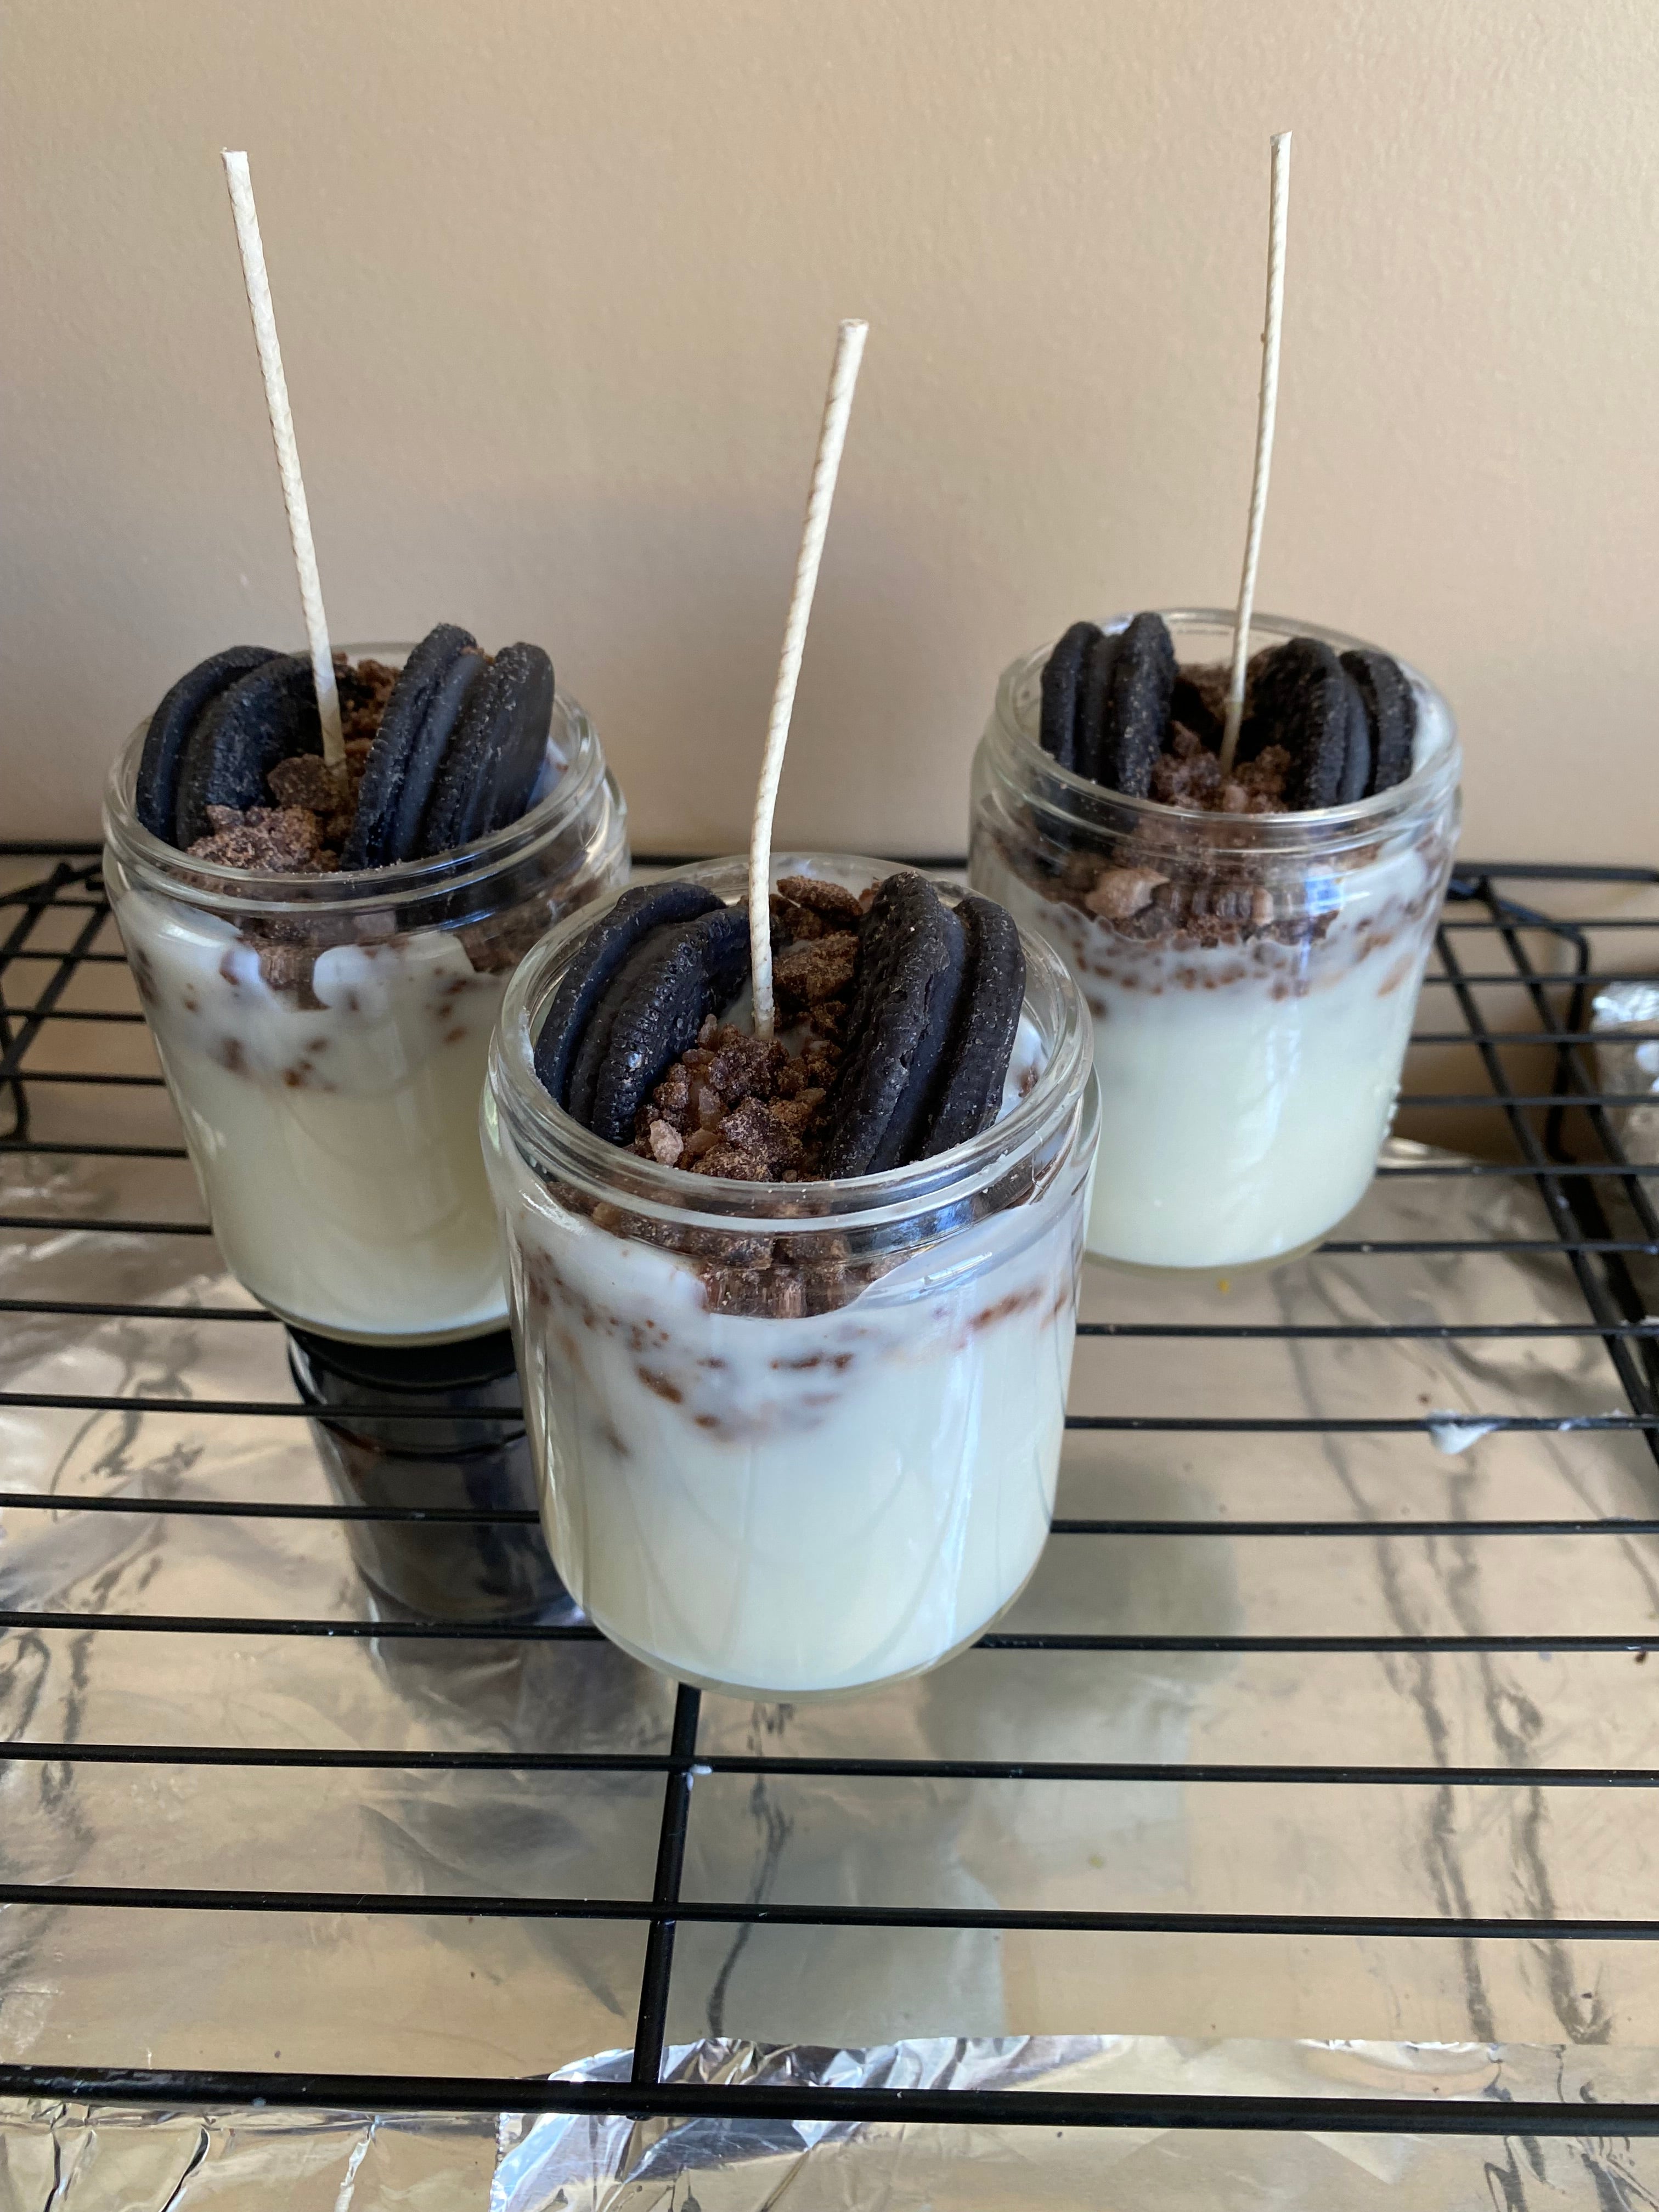
Making Candle Embeds
Introduction to Making Candle Embeds
Creating custom candle embeds is a fun and creative way to personalize your candles. Whether you are making candles for personal use or as gifts, adding unique embeds can elevate the overall aesthetic and appeal of your candles. In this article, we will guide you through the process of making candle embeds.
Materials You Will Need
- Wax (paraffin, soy, or beeswax)
- Candle molds
- Embed molds
- Candle wicks
- Fragrance oils (optional)
- Candle dye (optional)
- Heat-resistant containers
- Double boiler or melting pot
- Thermometer
- Heat source (stove or hot plate)
- Heat-resistant gloves
Step-by-Step Guide
- Prepare your work area by covering it with newspaper or a protective surface.
- Choose the embed molds you want to use. They come in various shapes and sizes, such as flowers, stars, or hearts.
- Melt the wax in a double boiler or melting pot on low heat. Stir occasionally until the wax is completely melted.
- Add fragrance oil or candle dye to the melted wax if desired. Mix well to ensure even distribution.
- Pour a small amount of melted wax into each embed mold. Leave some space at the top to attach the embed to the candle later.
- Allow the wax to cool and solidify partially. It should be firm but still slightly soft to the touch.
- Insert a candle wick into each embed mold, making sure it reaches the bottom and is centered.
- Fill the remaining space in the embed molds with more melted wax. Be careful not to overflow.
- Let the embeds cool and harden completely. This usually takes a couple of hours, but you can speed up the process by placing them in the refrigerator.
- Once the embeds are fully hardened, carefully remove them from the molds. You can use a butter knife or gently flex the mold to release the embeds.
- Trim the excess wick, leaving about 1/4 inch for easy attachment to the candle.
- Prepare the candle molds by securing the wick in the center using a wick holder or by tying it to a skewer placed across the mold.
- Place the embeds into the candle molds, arranging them as desired.
- Melt more wax and pour it into the candle molds, covering the embeds completely. Leave a small space at the top to add a finishing layer later.
- Allow the candles to cool and harden completely. This may take several hours or overnight.
- If desired, add a final layer of melted wax to fill any sinkholes or imperfections on the surface of the candle.
- Trim the wick to the desired length.
Conclusion
By following these steps, you can create beautiful candle embeds that will enhance the visual appeal of your homemade candles. Experiment with different shapes, colors, and fragrances to add a personal touch. Get creative and have fun making unique candles that will impress your family and friends.
Tags:
beeswax,
business name,
candle,
candle business,
candle embeds,
candle jars,
candle prices,
candles,
Christmas candle,
dessert candle,
embeds,
fragrance oil,
home decor,
jar vessels,
linen spray,
paraffin wax,
pillar,
pillar candles,
Reed diffusers,
room spray,
scented wax melts,
soy wax,
strong scented wax melts,
vessels,
wax melts,
wickless candles
Other articles:
Quick links
Contact us
More Than Candles — It’s a Vibe
Light with purpose. Live with love. Stay Lit.
Clean, soulful candles made to inspire calm and elevate your vibe.
Leave a comment: