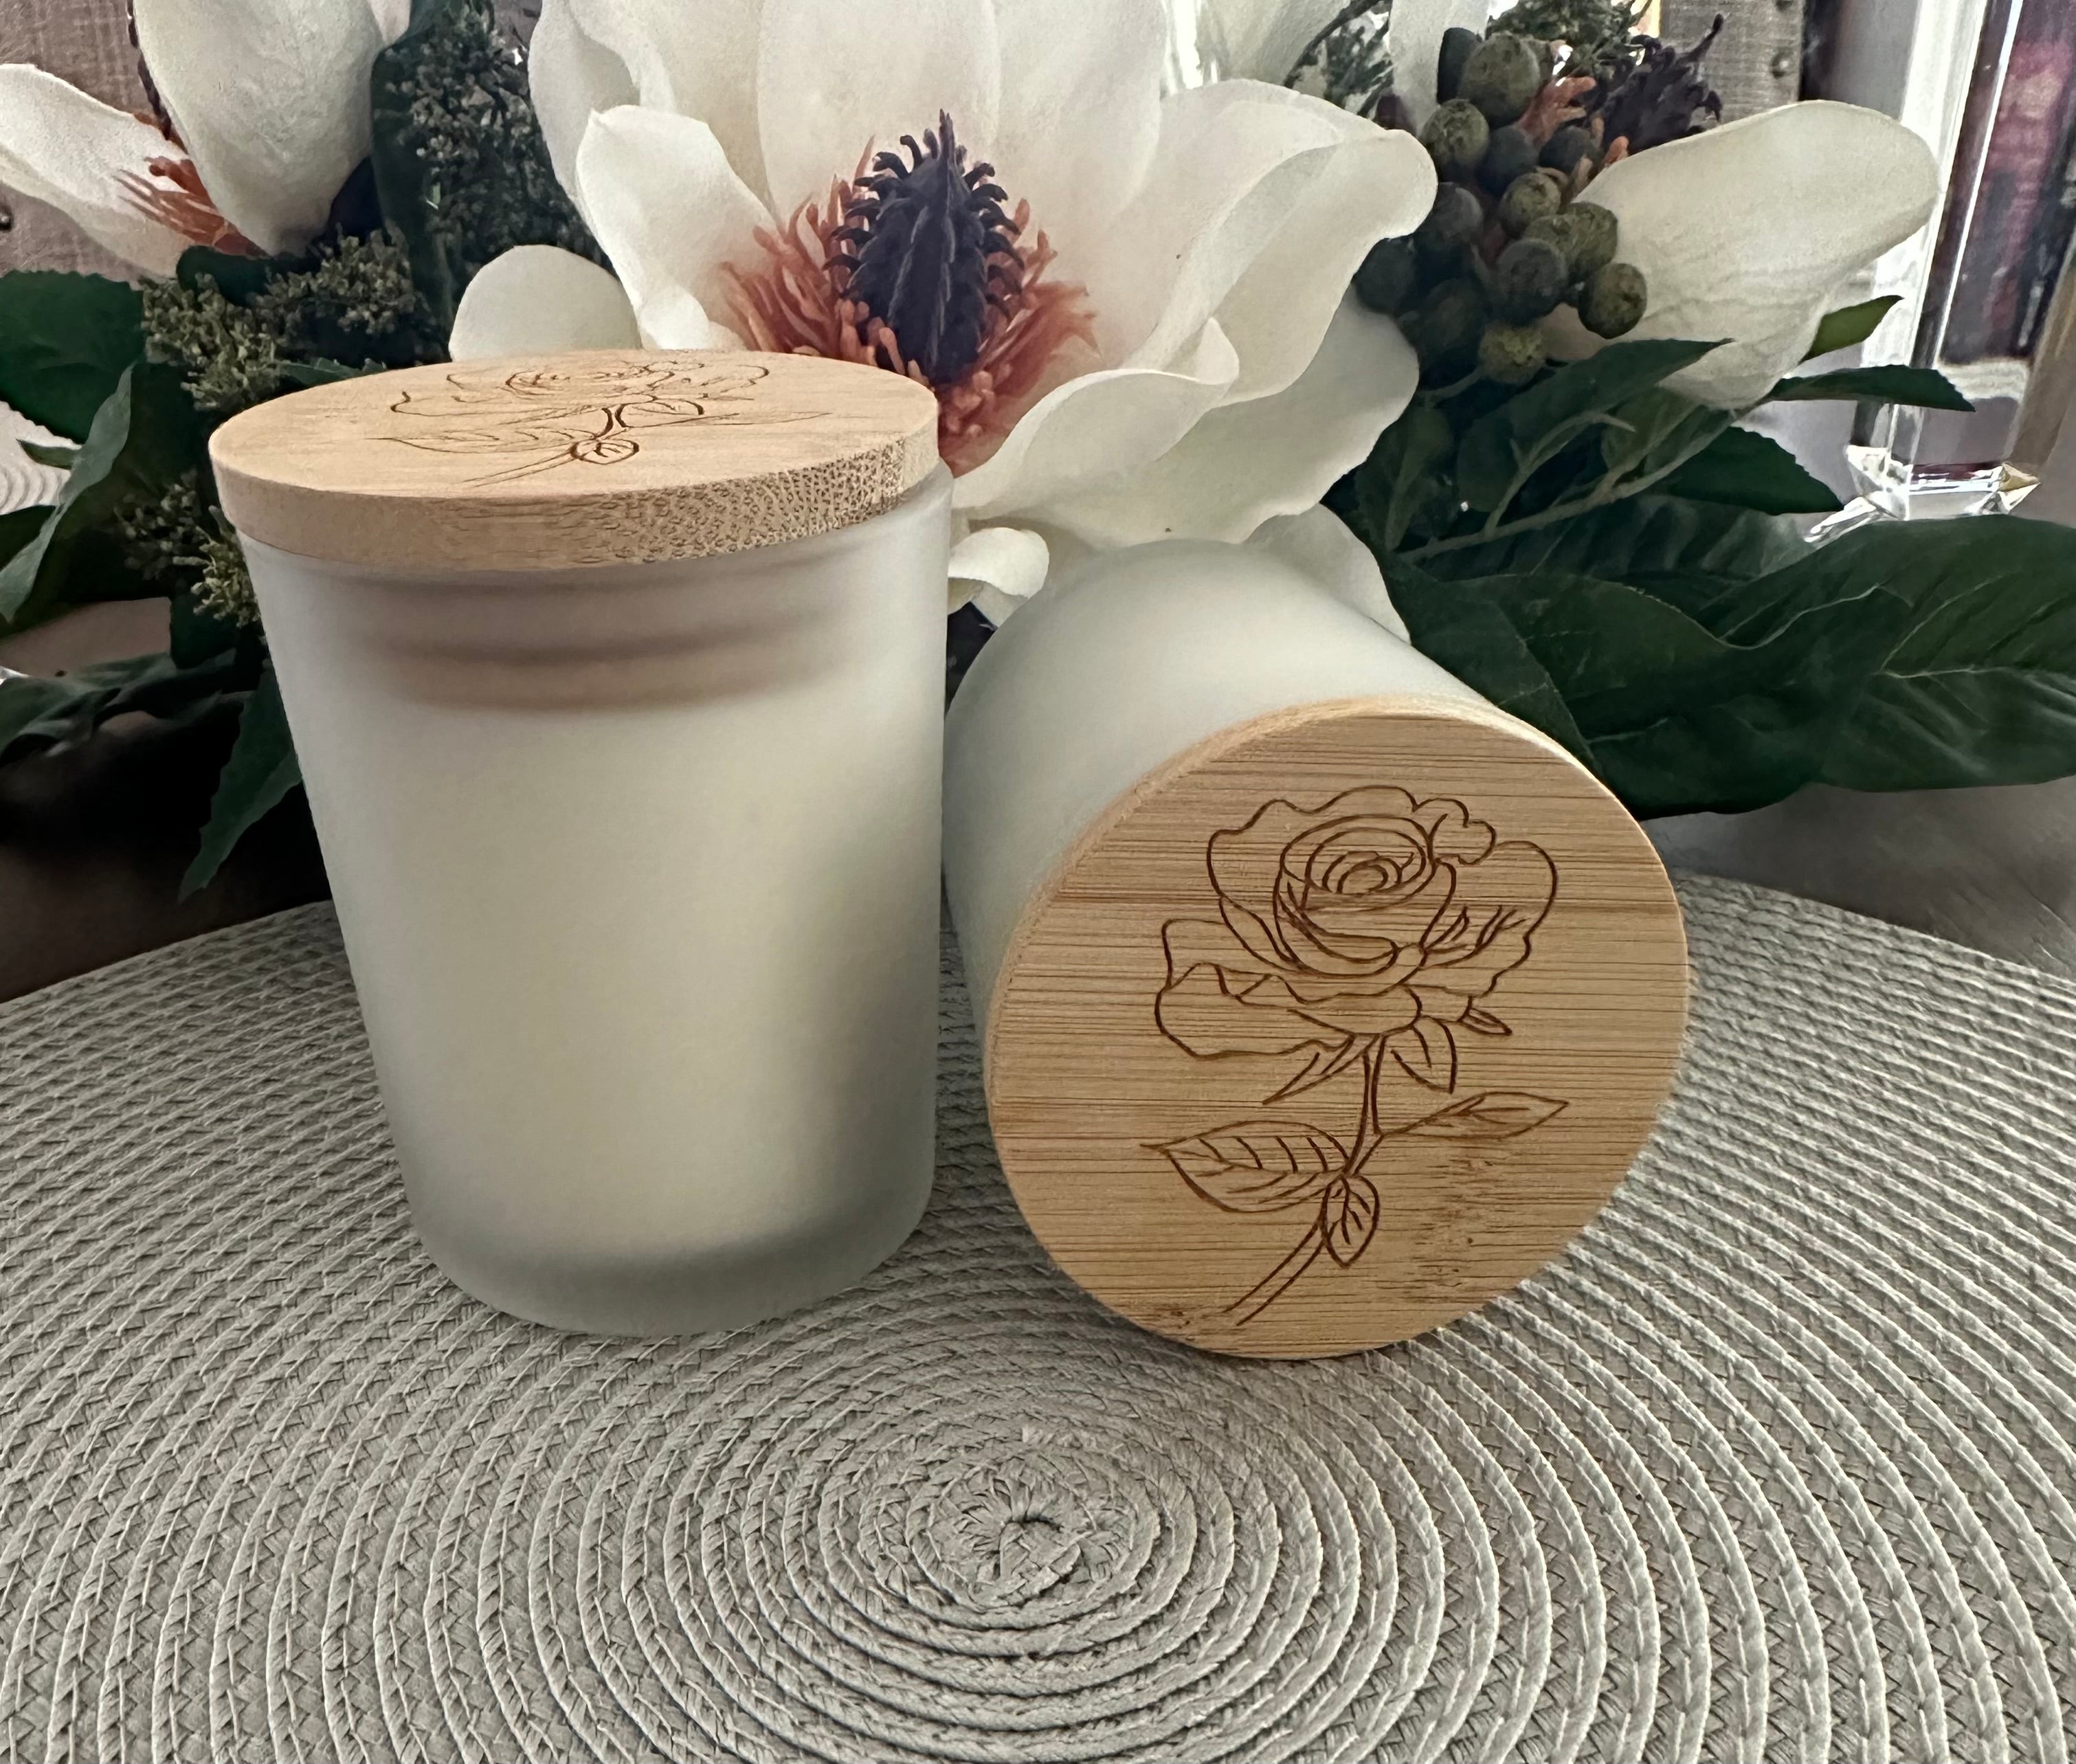
How to Take Great Product Photos of Your Candles
Introduction:
When it comes to selling products online, high-quality product photos are essential. They play a crucial role in attracting potential customers and showcasing your candles in the best possible light. In this article, we will discuss some tips and techniques to help you take great product photos of your candles.
1. Set Up a Proper Shooting Area:
Choose a well-lit area with plenty of natural light, preferably near a window. Natural light will help highlight the details and colors of your candles. Avoid using flash as it can create harsh shadows and distort the colors.
2. Use a Clean and Neutral Background:
Avoid cluttered backgrounds that may distract attention from your candles. Opt for a clean, neutral-colored backdrop such as a plain white or light-colored cloth or paper. This will help your candles stand out and ensure the focus remains on them.
3. Invest in Good Lighting Equipment:
If natural light is not sufficient or consistent, consider investing in some basic lighting equipment. A softbox or a ring light can provide even and diffused lighting, resulting in professional-looking photos.
4. Showcase Different Angles and Details:
Take multiple shots from different angles to showcase the shape, texture, and design of your candles. Close-up shots can highlight the intricate details and patterns. Experiment with different compositions to find the most visually appealing angles.
5. Use Props and Styling:
Add props or complementary items to create visually appealing compositions. Be mindful that the props do not overpower or distract from the main focus, which is your candles. Experiment with different styling options to find the right balance.
6. Ensure Sharp and Crisp Images:
Use a tripod or stabilize your camera to avoid blurry images. Ensure your candles are in focus and the details are sharp. Adjust the camera settings such as aperture, ISO, and shutter speed accordingly to achieve the desired sharpness.
7. Edit and Enhance:
After capturing the photos, edit them using photo editing software to enhance the colors, brightness, and contrast. Crop the images if necessary to remove any distractions or unwanted elements. Remember to maintain the natural look of your candles while enhancing the overall appeal.
Conclusion:
Taking great product photos of your candles is crucial for attracting customers and driving sales. By setting up a proper shooting area, using good lighting equipment, showcasing different angles and details, and enhancing the images through editing, you can capture stunning product photos that will make your candles shine.
Tags:
beeswax,
Black Friday,
business name,
candle,
candle business,
candle embeds,
candle jars,
candle prices,
candles,
Christmas candle,
dessert candle,
embeds,
fixing candles,
fragrance oil,
home decor,
jar vessels,
linen spray,
paraffin wax,
pillar,
pillar candles,
Reed diffusers,
room spray,
scented wax melts,
soy wax,
strong scented wax melts,
vessels,
wax melts,
wickless candles
Other articles:
Quick links
Contact us
More Than Candles — It’s a Vibe
Light with purpose. Live with love. Stay Lit.
Clean, soulful candles made to inspire calm and elevate your vibe.
Leave a comment: